Father’s Day is often associated with grilling. But while steak can seem straightforward, getting it right requires making a few decisions most people overlook.
At the Institute of Culinary Education, grilling isn’t treated like a shortcut. It’s treated like a skill. Here are five must-do’s to make sure your steak is tender, well-seasoned and cooked to perfect temp.
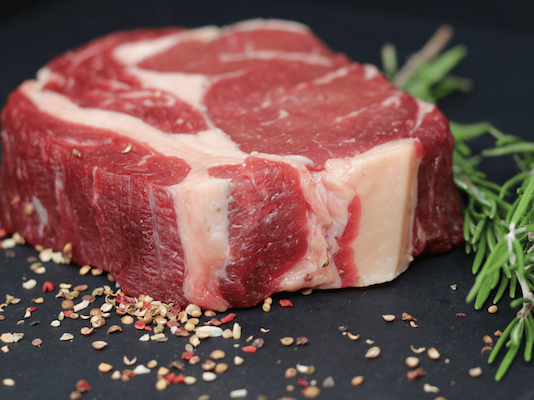
Start With the Cut (Not the Marinade)
The path to great taste starts before your steak hits the grill. Ribeye and filet are reliable, tender, quick-cooking and hard to mess up. However, less expensive cuts like tri-tip can deliver just as much flavor if handled properly.
The difference comes down to how you treat your steak:
- Look for even thickness.
- Trim excess fat or silver skin.
- Slice against the grain after cooking (especially for tougher cuts).
These are the details that separate “good” from “worth repeating.”
Prep Is Where You Win
Before the grill heats up:
- Bring the steak to room temperature for even cooking.
- Pat steak dry to improve searing.
- Season just before grilling (to avoid pulling out moisture).
If you’re using marinade, avoid overly wet mixtures and pat away excess marinade before cooking. Too much surface moisture prevents a good sear.
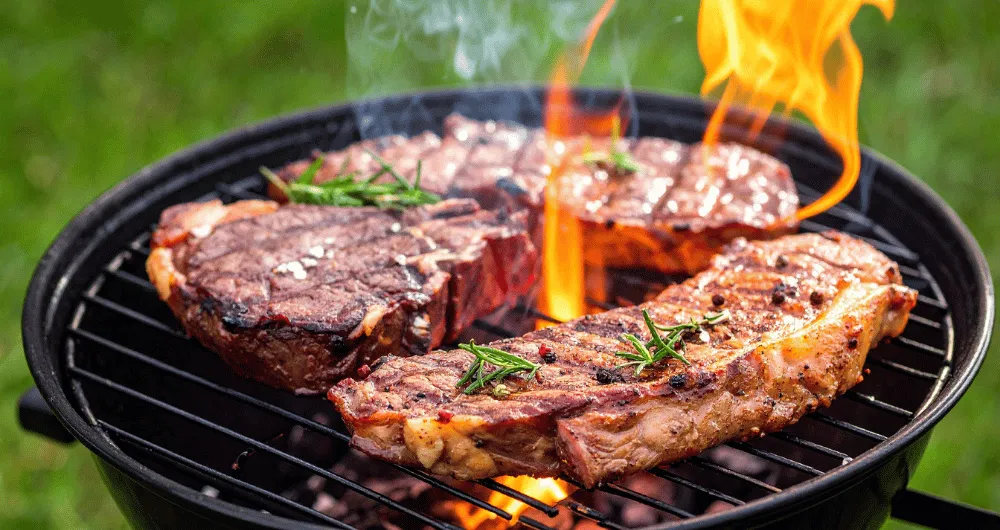
Get the Grill Hot (Then Leave It Alone)
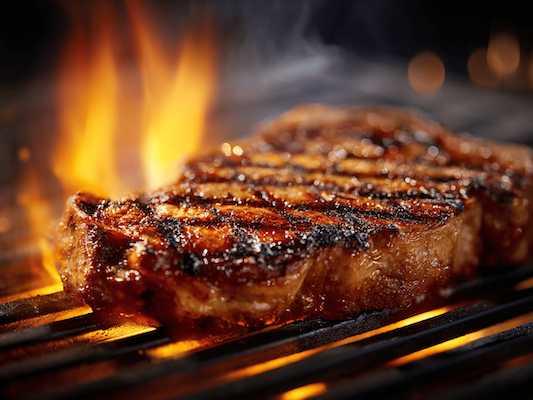
This is where most people overdo it. Yes, the grill should be hot. But once the steak is on…stop touching it!
Let it sear. Let it develop color. Let it release on its own. That’s not guesswork. Rather, it’s the Maillard reaction at work. This natural browning process occurs when heat transforms proteins and sugars on the steak’s surface, creating the deep color and savory flavor associated with a great sear. If you want grill marks:
- Place your steak on the grill.
- Rotate once.
- Do not rotate again.
Control the Heat, Not Just the Flame
A good grill has zones:
- High heat for searing.
- Lower heat for finishing.
- Adhering to these progressive zones is how you avoid burning the outside of your steak before the inside is ready. Use a thermometer if needed, and pull the steak slightly early to allow for carryover cooking.
Rest. Then Finish.
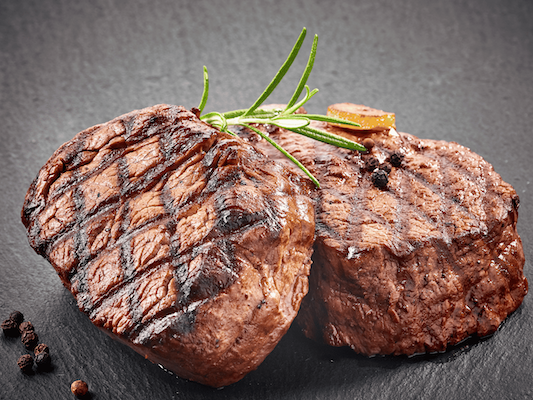
This is a step people often skip — and it’s one that makes a key difference. Let the steak rest so the juices redistribute. Then finish with a small amount of butter and a clean slice. If your technique is right, you don’t need to cover your steak’s texture and flavor with excessive add-ons.
Now, go forth and grill!
🥩Read more about beef and study meat butchery and preparation in Culinary Arts at the Institute.