While the chocolate section of the Pastry & Baking Arts program is certainly a highlight for most students, it was truly transformative for a candy-lover like me. While I love to bake, there's nothing quite like crafting beautiful, delectable little candies from scratch. However, prior to beginning the chocolate portion of the pastry program, I had yet to spend much time making chocolate candies. Little did I know, my candy-making horizons were about to expand considerably.

I have always been a stalwart fan of See’s Candies (a chain in California that makes delicious old fashioned chocolates), but more recently, I've been inspired by the modern candy-makers of Brooklyn's Liddabit Sweets.
Liddabit recently published an amazing cookbook that contains truffles, chocolate bars, fruit candies, marshmallows, honeycomb, caramels and toffees; you name it, they’ve got it.
And while Liddabit Sweets confections are carried in stores all over Brooklyn, the owners recently opened a store in Manhattan at Chelsea Market.
While I continue to be a fan of both See's Candies and Liddabit Sweets, my 11-day chocolate foray at ICE has expanded my candy horizons considerably. Over that time, I learned key components of chocolate creation that make or break a chocolatier's success.
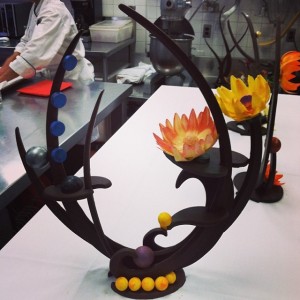
Number one: chocolate tempering. We used tempered chocolate in every recipe we made, from chocolate clusters to truffles and molded chocolates, to our chocolate showpiece. (All of these pieces have been saved and will be displayed at our graduation ceremony, which will take place December 9th!)

Tempered chocolate is chocolate that has been guided through a series of temperature changes and agitations, resulting in a product composed of stable crystals. These allow for the chocolate to set uniformly and provide a satisfying snap when chewed.
To temper chocolate, one must first melt chocolate over a bain marie (a double boiler with the chocolate placed in a bowl over a pot of simmering water) up to a certain temperature. Each type of chocolate has a different temperature that it should be heated to – dark is 120 °F, milk is 115 °F, and white is 105-110 °F. The chocolate be stirred the whole time, which aids in the formation of stable crystals.

After the chocolate is melted, it is removed from heat, stirred vigorously, and (using the seeding method) unmelted chocolate pistoles (small, disc-shaped pieces of high-quality chocolate) are added to the bowl and melted in. The chocolate should then be cooled to 85 °F.
This is the typical cooling point for most chocolates, although certain types require higher cooling points. Once the chocolate is brought to the proper temperature, it is considered tempered (though you should test it to make sure), and should remain at that temperature for the entire time you are working with it.

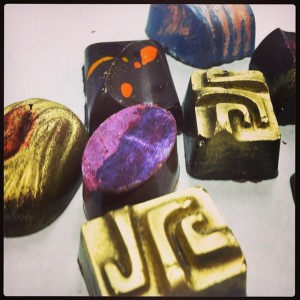
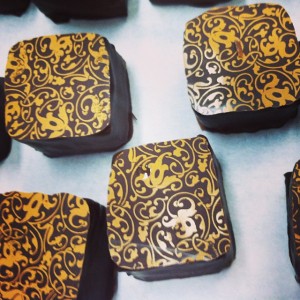
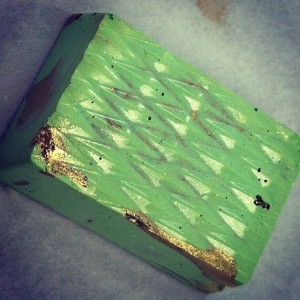
The truffles and the filled, molded chocolates were my favorite candies to make (and the tastiest!). To make molded chocolates, the first step is painting the insides of the chocolate molds with different designs and colors. After painting the inside of the molds, you pour tempered chocolate inside and turn the molds upside down over the bowl, scraping out the excess to insure a thick coating.
Once the chocolate sets inside the tempered, painted shell, you can add fillings such as Matcha green tea, salted caramel, and gianduja (hazelnut goodness). The final phase—known as "capping"—requires pouring tempered chocolate over the top of the cooled, filled molds, and scraping off the excess. The chocolate is then chilled for the final time and covered with acetate, creating a smooth bottom. The final product—an artfully crafted and perfectly shaped little morsel—is as beautiful as it is delicious!
Clearly, chocolate making is no small task. However, the end result is so lovely and delectable that it's entirely worth it. While being a chocolatier is not necessarily my future career path, I love making chocolates, and honestly can’t wait to make more for my friends and family while I’m home in California for Thanksgiving. I’m thinking of creating a Pie Trio – pumpkin pie, apple pie, and pecan pie truffles! I'll keep you posted on my progress.


