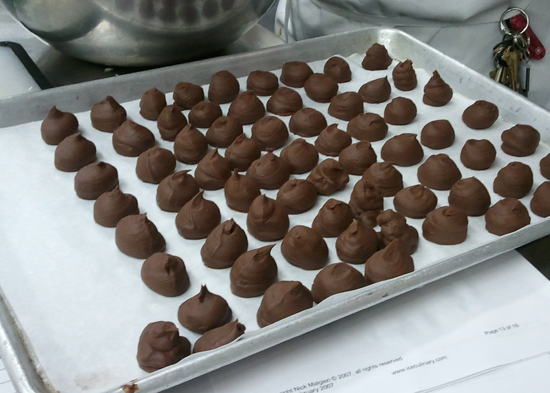
These days it seems that having a knack for baking is so much more than mastering cakes and cookies. Not only are bakeries around the country specializing in so much more, like macaroons, cake pops and truffles to impress the ever-changing demand of consumers, but bloggers and home cooks are starting to explore these more complicated treats.

If you were thinking about honing just one new pastry skill this year, I would highly suggest putting truffles on the top of that list. These smooth, chocolaty drops of wonderment are sure to not only please party guests but also make great gifts for any holiday.
In the Truffles, Truffles, Truffles recreational cooking class at ICE, I learned all there is to know about creating these tantalizing treats! The process is surprisingly simple with delicious results. The first thing anyone should know about truffles is the process in which they are made. You begin to form the truffle by creating a ganache center.
Once the ganache is made it needs to chill thoroughly to set before attempting to pipe it. Once chilled, place the ganache filling in a piping bag and create small rounds on a parchment covered baking sheet. Then place the sheet in a fridge to chill. While the ganache is chilling, prepare your tempered chocolate for enrobing. With one hand, dip a ganache center lightly in the tempered chocolate. Then, with your other hand, roll the ball in your coating (I.e. chopped nuts, shaved chocolate, etc.) Then voila! You have delicious truffles made from scratch! Here are a few tips to help make the process a bit easier:
The ganache is ready to pipe when it has a consistency similar to peanut butter. I’m sure you’ve seen chocolate sold in percentages in stores. Before taking this class I never knew what it meant. The percentage reflects how much of the chocolate is cocoa, as opposed to milk, sugar or cocoa butter. The lower the percentage, the sweeter the chocolate!
Tempering chocolate takes time because you first have to bring the chocolate to a high heat, let it drop, then bring it back up just slightly. The process transforms the cocoa butter so that when it sets, it forms a crystalline structure that makes the chocolate, smooth and shiny – not dusty or gray looking as you’ve seen in untempered chocolate. In a few short hours, I learned more than I could have imagined and left with a huge batch of amazing truffles! They weren’t the most perfect looking truffles you’ve ever seen but I can assure you that they tasted great!


