Whatever your relationship with carbohydrates may be, bread is widely regarded as a staple food for many civilizations.
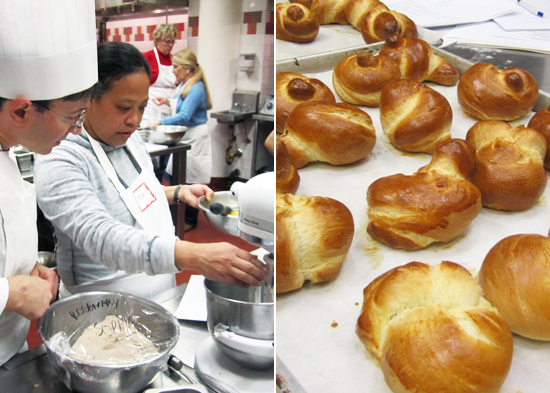
The variety and range of breads you can make from a few simple ingredients is astounding. I’ll admit anytime I get the inkling to bake my own bread the delicate ingredient balance, proofing wait-time, and lack of “bread hook” on my mixer is intimidating enough to prevent me from even getting started. However, I’m not the kind of girl to give in to fear. I’m the kind to face it head-on with a kitchen scale and my two bare hands! They’ve been baking bread for hundreds of years, how hard could it be? It was with this gumption that I walked into the sixth-floor kitchen to Chef Jeff Yoskowitz’s One-Day Breads class (hey, just because I can wait days for proofing doesn’t mean I’m willing to).
Here’s some of the most useful stuff I learned:
Yeast is a Fickle Beast: One of the biggest errors you can make in bread-baking is to kill your yeast. As a living fungus, yeast needs the basics of water, food and a livable climate. The most common way people accidentally kill yeast is by making the water too hot. The ideal temperature is right around 100°F, by 130°F it starts dying, and by 140°F it’s completely dead. The other silent killer is salt. While salt is a basic ingredient in breads (the French have a law that baguettes only include water, flour, salt and yeast), if it comes into direct contact with pure yeast, then that yeast is a goner.
You’ve Gotta Have Proof: Like any living thing, yeast is happiest when in its ideal climate. In that regard, an afternoon in a proofing box is the equivalent of a trip to Hawaii. The ideal temperature to maximize proofing is 80°F–90°F, and preferably a little moist. All breads must go through a proofing period, some even proof two or three times before they’re baked.
Fermentation Nation: The purpose of proofing is to ensure that the dough is properly fermented. The tricky part is to know when it’s finished, as proofing time can vary widely from 30 minutes to 8 hours. Chef Jeff gave us a run-down of sure-fire indications that your bread is finished:
1) It has risen.
2) It jiggles when you shake it.
3) If you put flour on a couple of fingers and insert them into the dough, it should stay depressed.
Through the course of the evening we walked 11 different doughs through all the stages of the bread-making process, and somewhere in there I overcame my fears and embraced my inner doughboy!