Food Photography 101: How to Use Lighting to Take Great Pictures


“The camera eats first” is a common phrase in restaurants — who among us hasn’t wanted to capture a beautiful meal? But wanting to and succeeding are two very different things, especially when a dark restaurant and a camera’s flash mix like oil and water. Fortunately, there’s a fix for that. Here’s how to use lighting to transform your photography, making even the simplest sandwich look mouthwatering.
“Light tells the story of the food,” says Anthony Leo, Assistant Director of Social Media at ICE. “It shows color, texture and freshness. Without good light, you lose all of that.”
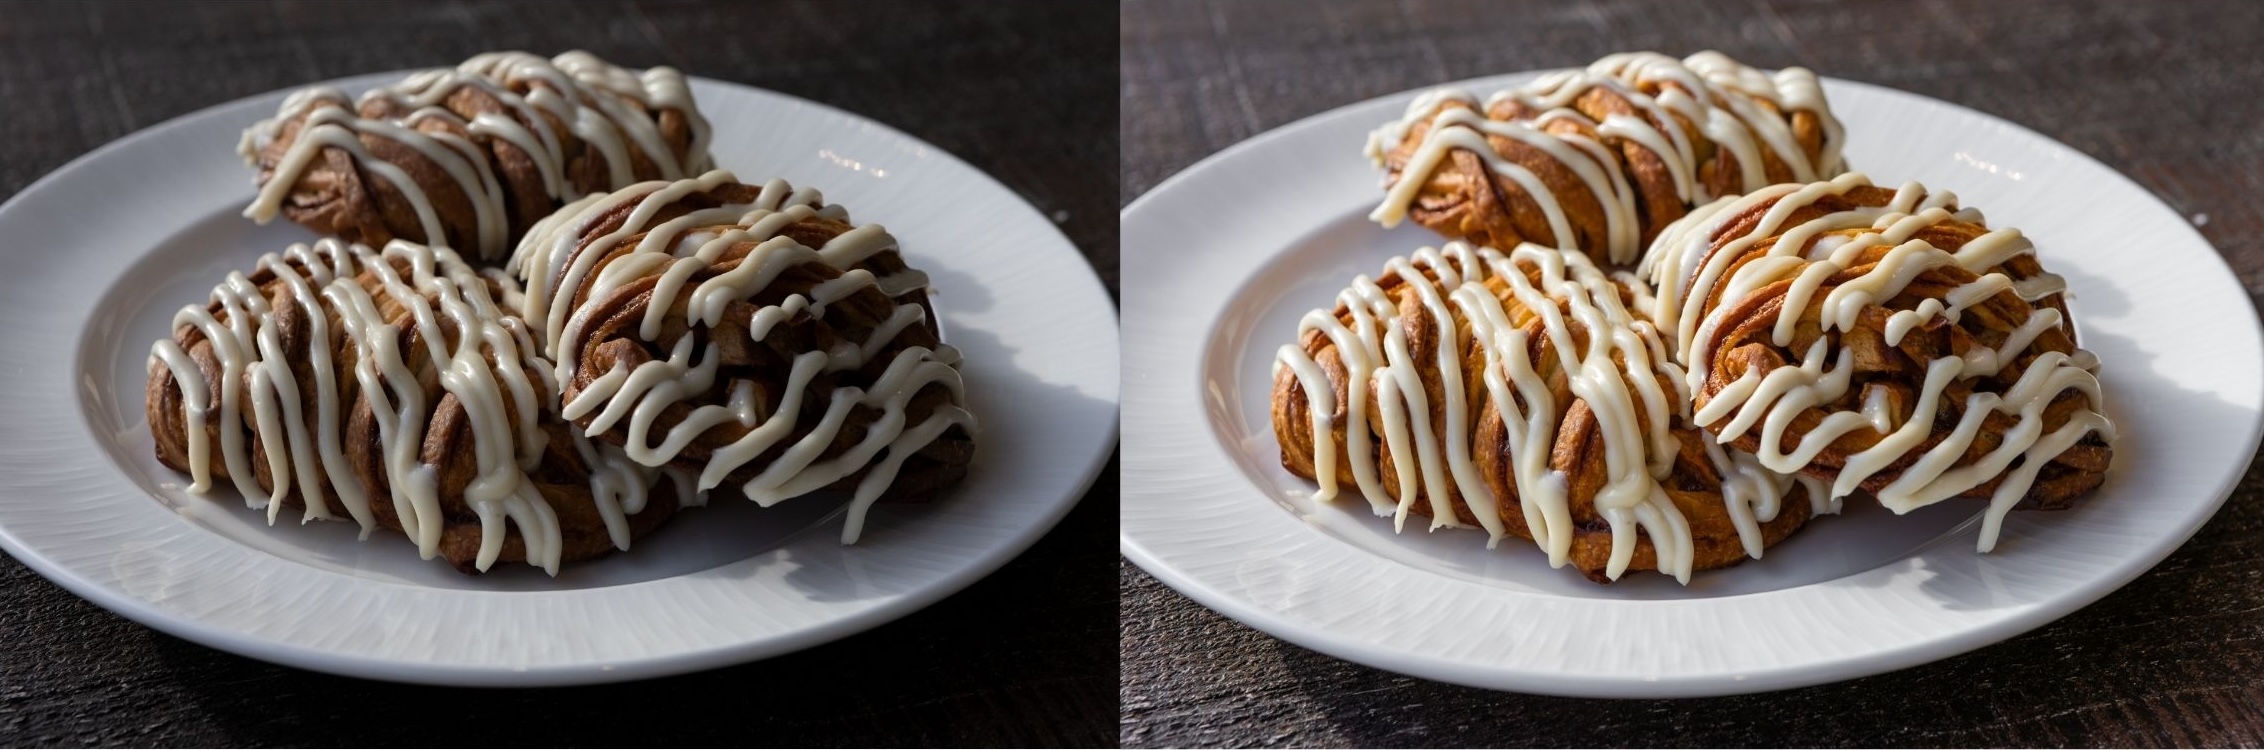
Good lighting creates images that are multi-dimensional and alive, using highlights and shadows to convey mood and depth.
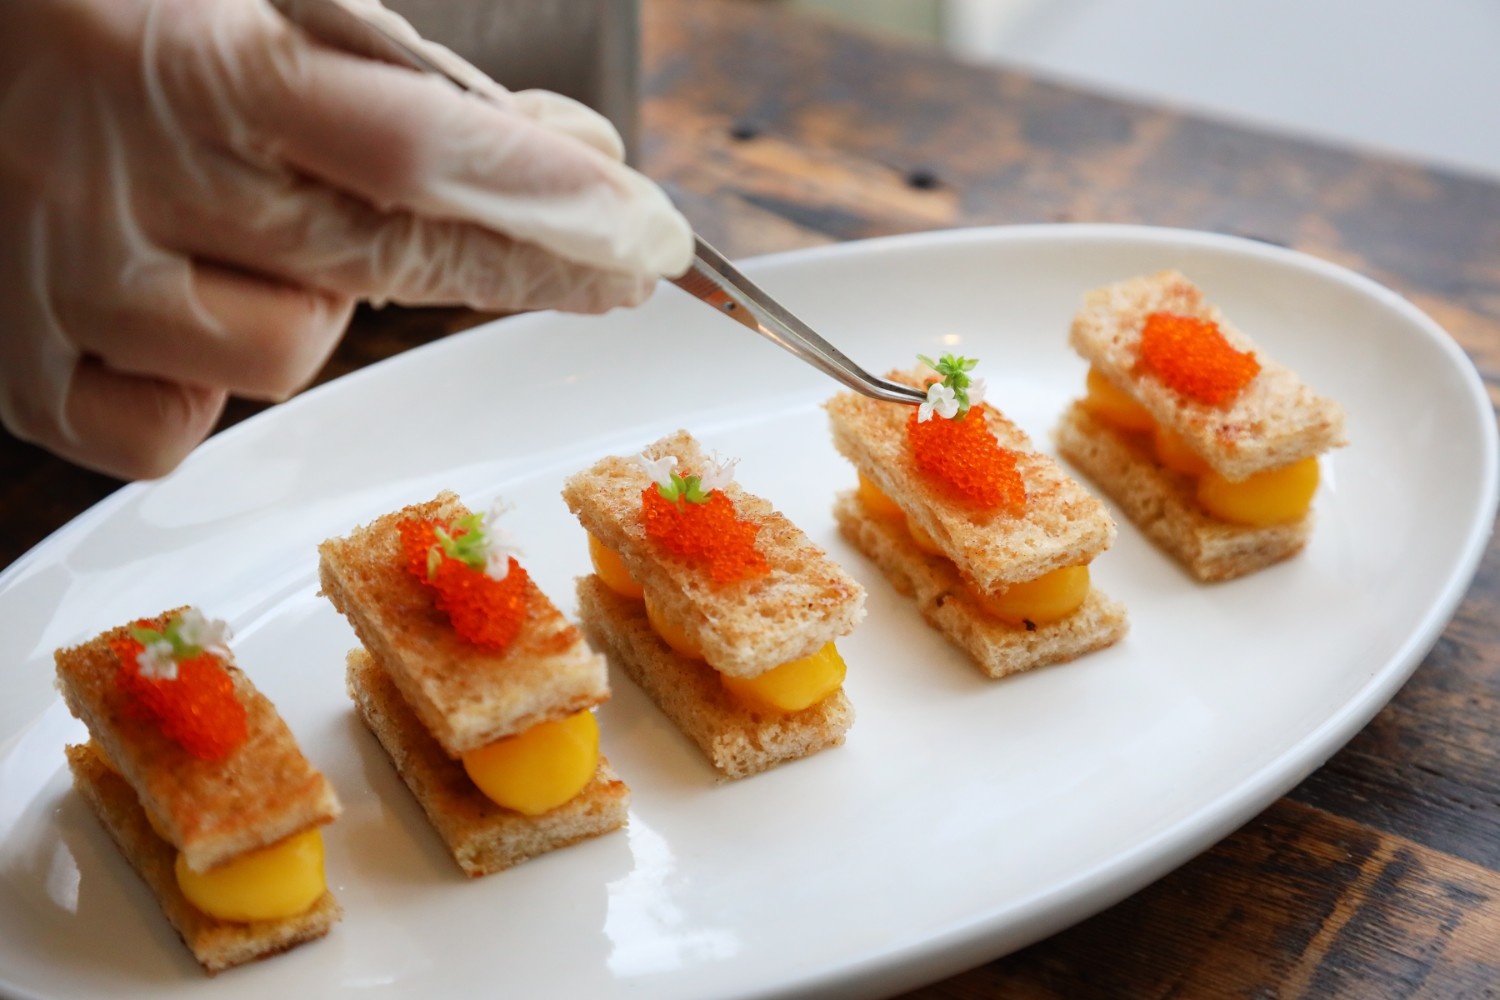
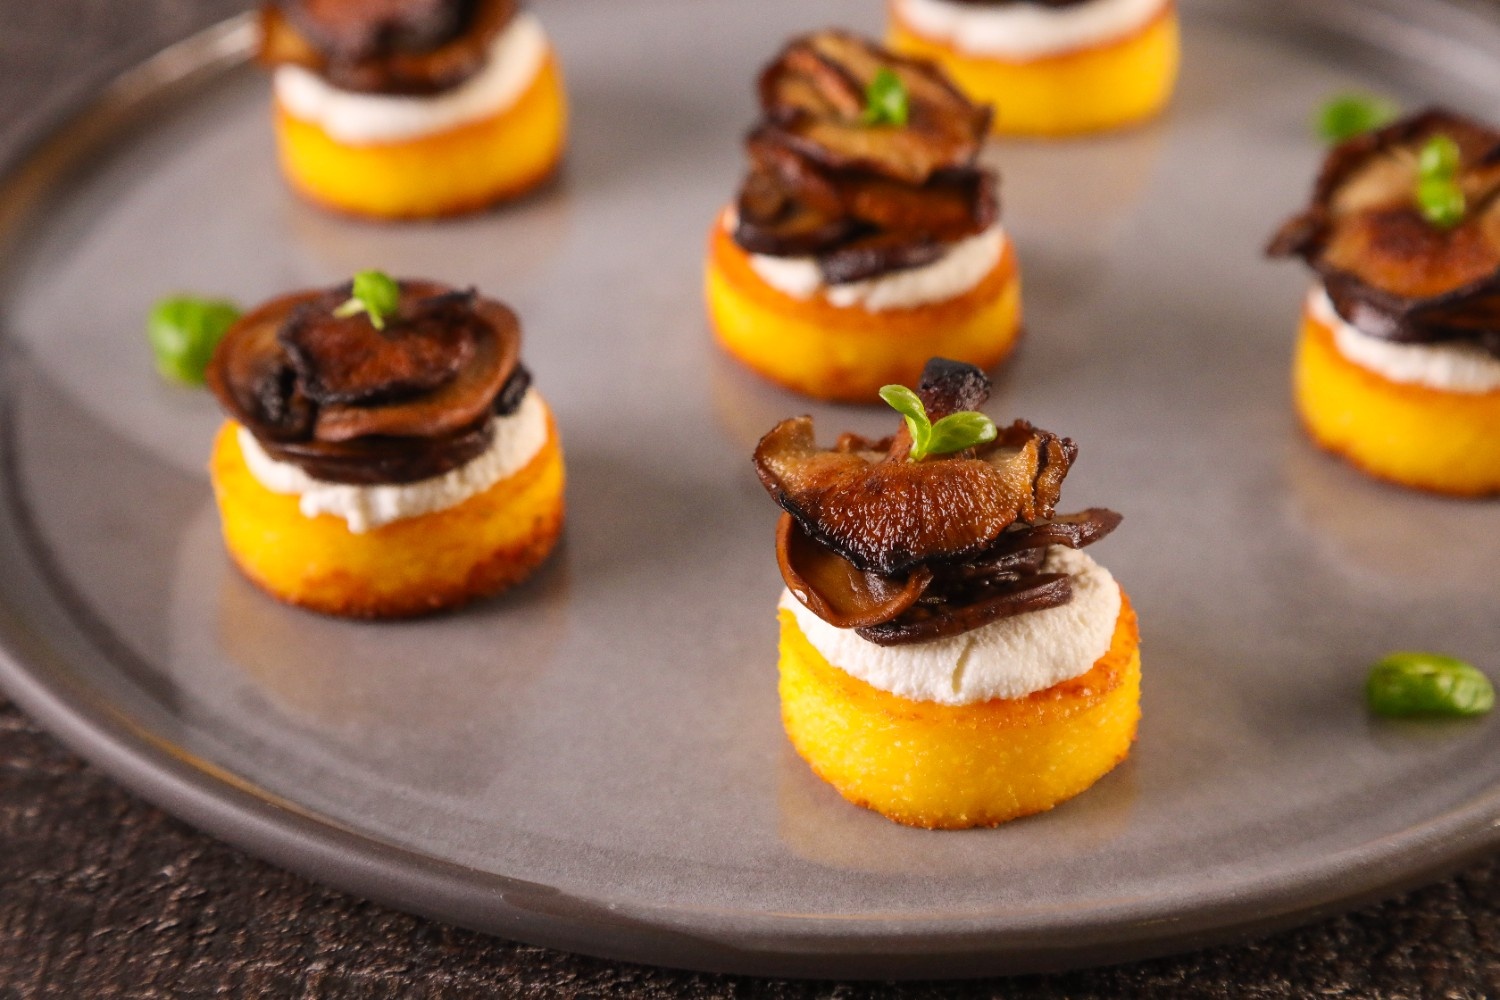
As students enrolled in ICE programs study plating and presentation, they often photograph their creations — and thus practice food photography alongside their cooking. (For some students — Steven Gao and Alessandra Ciuffo, for example — food photography becomes an essential tool in their content creation work outside the kitchen.
The following tips lay the groundwork for understanding lighting and provide actionable ways to put them into practice.
Find the Light
Before capturing any photos, identify your light sources and make sure your subject isn’t backlit (when the light source is behind the food).
“A backlit subject will appear very dark in front, and can sometimes look hazy or washed out, meaning there won’t be much color or detail,” explains Leo.
Instead, position your plate so that light approaches from the side. Side lighting creates gentle shadows that define texture — think: crispy edges, flaky pastry and glossy sauces.
Natural Light is Best
Luckily, the best lighting — natural light — is free: Find windows and doors that can act as your main sources, and take a few test shots to see how the light behaves. Keep in mind that the seasons and time of day can change the quality of natural light.
Food photographed in direct sunlight can look bold and dramatic, with sharp edges and defined shadows.
If you prefer gentler, brighter images with a soft, flattering glow, try Leo’s suggestions:
- Move the subject slightly back from the light source
- Shoot on a cloudy, foggy, rainy or snowy day (the light will be softer than on a sunny one)
- Filter the light through a curtain
“Direct sunlight can be harsh, causing subjects to look overexposed and washed out,” Leo cautions.
When to Use Artificial Light
Not every kitchen (or studio) has a great window, and that’s where artificial lighting can help.
Leo recommends using a flash or LED with a diffuser (like an umbrella or softbox) so artificial light doesn’t hit the food too harshly.
He adds that it’s important to “Stay away from fluorescent lights, which cast yellow or blue tones that make food look sickly.”
One advantage of artificial light is consistency. When shooting a large series, being able to replicate the same lighting matters. (This knowledge really comes into play if you’re an aspiring cookbook author — Meredith Hayden, an esteemed ICE alum is a great example of this.)
How to Break the Rules
Not every food photo needs to be bright and airy.
“If your goal is something dark and moody — perhaps the setting is a dark bar — it’s okay to let the food be darker,” says Leo. “Maybe the focus is the atmosphere rather than the food itself.”
That approach is common in editorial, cocktail and fine-dining photography — and learning how to control light lets you choose when to follow the rules and when to bend them.
Next in the series: how to use composition and angles so that the food leads the story.